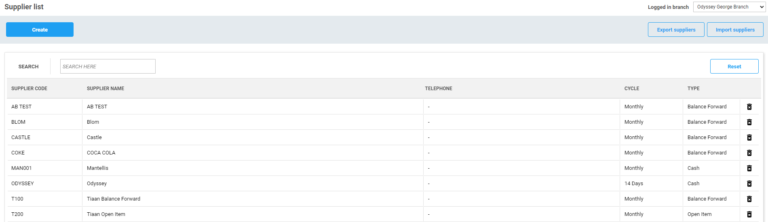
To create a supplier log into your back office and click on suppliers > suppliers in the main menu. You are presented with a list of existing suppliers.
Click on Create to create a new supplier. In the popup complete the supplier name and supplier code and click create. You are presented with the edit supplier screen.
In the supplier edit screen, you will see 3 tabs. The supplier tab displays all the supplier info.
Supplier name – The name of the supplier.
Supplier type balance forward – When paying a balance forward supplier Odyssey will automatically allocate the payment to the correct invoice.
Supplier type open item – When paying an open item supplier you must allocate the payment yourself to the correct invoice.
Supplier status – Choose if this supplier is active. blocked or closed.
Terms – Choose if this supplier is a 30, 60, or 90-day supplier.
Cycle – Choose if this supplier is a 7, 14, or monthly cycle supplier.
Contact person – Fill in the contact person information for this supplier.
Address details – Fill in the address information for this supplier.
Navigate to the Activity tab to view supplier activity and history.
View history like payments and GRV’s for this supplier.
Navigate to the Statements tab to view print and email supplier statements.